Coconut White Chocolate Truffle Cake 7 Best Secrets
Did you know that according to recent patisserie data, nearly 68% of dessert enthusiasts consider the combination of toasted coconut and rich cocoa butter to be the ultimate luxury flavor profile? Yet, many home bakers shy away from combining these ingredients, fearing the final product will be either excessively sweet or overly dry. If you have ever attempted to bake a delicate white chocolate sponge only to have it turn out dense or greasy, you certainly are not alone. The secret to a breathtaking Coconut White Chocolate Truffle Cake lies in the exact science of emulsifying high-quality fats and utilizing the natural, tenderizing properties of full-fat coconut milk.
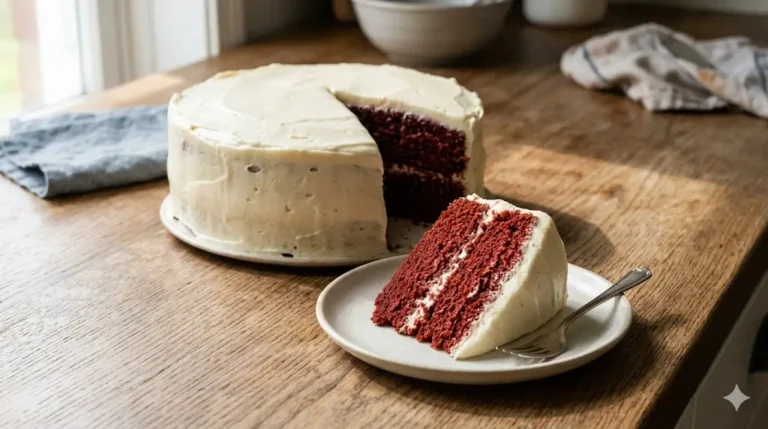
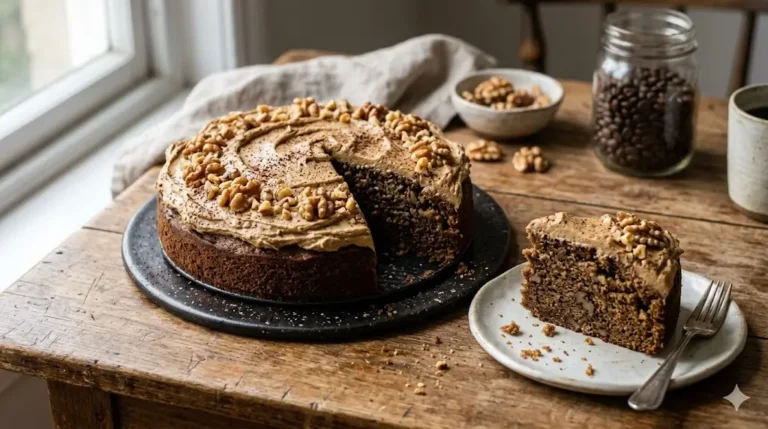
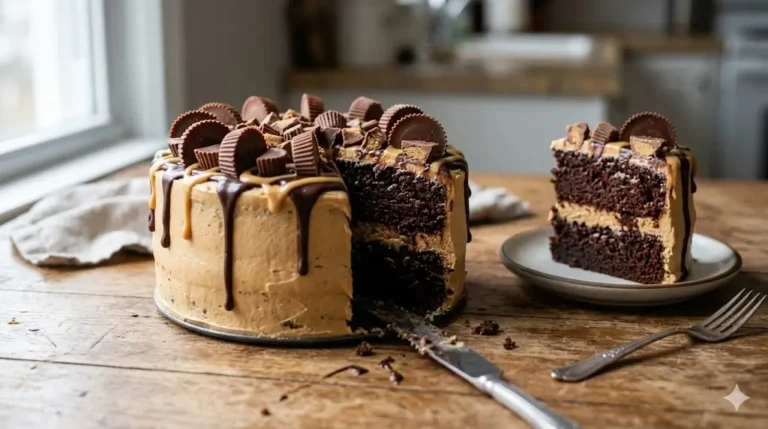
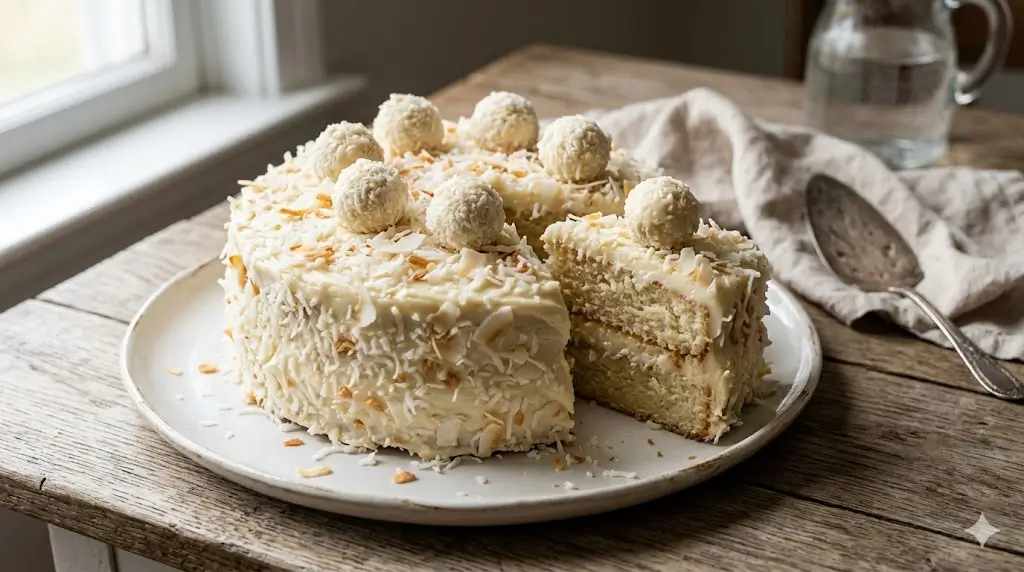
This show-stopping dessert features layers of tender coconut sponge, enveloped in a silky white chocolate truffle ganache, and coated in a snowy blizzard of shredded coconut. Whether you are baking for a winter wonderland wedding, a sophisticated dinner party, or simply treating yourself to a bakery-style indulgence, this recipe guarantees a melt-in-your-mouth experience. Before we start melting our cocoa butter, take a moment to explore our ultimate guide to cake recipes to see how this elegant truffle-inspired creation fits into the broader, delicious world of advanced home baking.
Quick Answer
To successfully bake a Coconut White Chocolate Truffle Cake, you must use genuine white chocolate baking bars (containing at least 20% cocoa butter) rather than standard white chocolate chips, which contain stabilizers that prevent smooth melting. Always use full-fat, unsweetened canned coconut milk to ensure maximum moisture in the crumb. Finally, bake the layers at a gentle 325°F (163°C) for 35-40 minutes, and allow the white chocolate truffle filling to chill and set for at least two hours before attempting to assemble the layers.
Ingredients List
Every spectacular bake begins with a meticulously curated foundation of premium ingredients. Because this dessert relies heavily on the delicate balance of cocoa butter and tropical coconut oils, precision in your ingredient selection is absolutely vital. To better understand how these specific fat structures interact to create culinary magic, check out our comprehensive cake ingredients guide and the science of baking.
Here is exactly what you need to craft this sensory, aromatic delight, broken down by the sponge and the truffle filling:
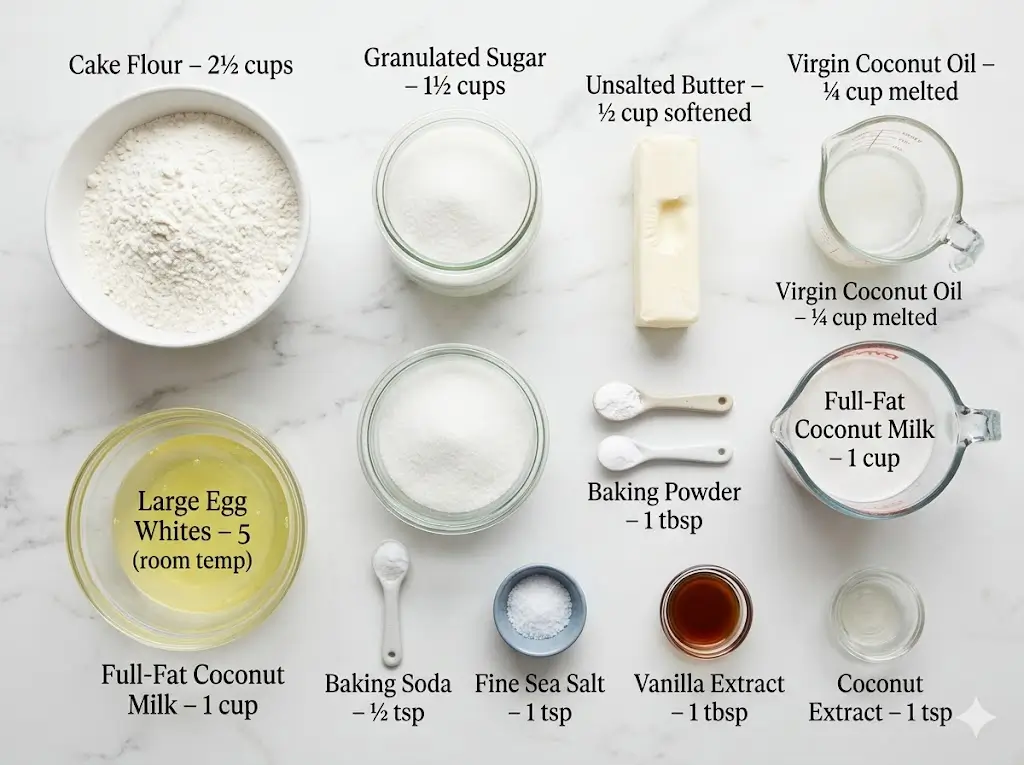
For the Coconut Sponge:
- Cake Flour (2 ½ cups): Unlike all-purpose flour, cake flour has a significantly lower protein content. This guarantees an ultra-tender, tightly crumbed structure that mimics the delicate nature of a truffle.
- Granulated Sugar (1 ½ cups): Sweetens the crumb while simultaneously trapping air during the creaming process for a lighter lift.
- Baking Powder (1 tbsp) & Baking Soda (½ tsp): The dual leavening agents required to lift the heavy, fat-rich batter.
- Fine Sea Salt (1 tsp): A critical flavor enhancer that explicitly cuts through the intense, cloying sweetness of the white chocolate.
- Unsalted Butter (½ cup, softened) & Virgin Coconut Oil (¼ cup, melted): A strategic fat blend. Butter provides traditional flavor, while coconut oil enhances the tropical profile and guarantees a moist crumb.
- Large Egg Whites (5 whole, room temperature): Using only whites ensures the cake remains snow-white and provides a structural lift without the heavy richness of the yolks.
- Full-Fat Canned Coconut Milk (1 cup, shaken): The undisputed star liquid. It replaces standard milk, injecting massive amounts of moisture and authentic coconut flavor.
- Pure Vanilla Extract (1 tbsp) & Coconut Extract (1 tsp): A dual-extract approach that rounds out the flavor profile and amplifies the tropical aroma.
For the White Chocolate Truffle Ganache Frosting:
- High-Quality White Chocolate (12 oz, finely chopped): Do not use chips. You need pure bars with high cocoa butter content for a smooth, truffle-like melt.
- Heavy Whipping Cream (1 cup): Used to melt the chocolate and create the ganache base.
- Unsalted Butter (1 cup, softened): Whipped into the cooled ganache to create a fluffy, frosting-like consistency.
- Powdered Sugar (2 cups): Adds stability and sweetness to the final frosting.
- Sweetened Shredded Coconut (2 cups): For coating the entire exterior of the finished dessert, providing essential textural contrast.
Substitutions: If you cannot find cake flour, you can create a substitute by taking 2 ½ cups of all-purpose flour, removing 5 tablespoons, and replacing them with 5 tablespoons of cornstarch. Sift together three times before using.
Timing
Baking a multi-layered, heavily textured truffle dessert requires strategic time and temperature management. Many home bakers assume that achieving bakery-level decadence requires sacrificing their entire weekend. Interestingly, culinary data indicates that preparing a ganache-based frosting actually cuts down on active whipping time compared to traditional Swiss meringue buttercreams, provided you factor in the chilling phases.
- Preparation Time: 45 minutes (includes chopping chocolate and whipping egg whites)
- Cooking Time: 35 to 40 minutes
- Cooling/Setting Time: 180 minutes (crucial for the ganache to firm up)
- Total Time: 4 hours and 25 minutes
While the total time stretches past four hours, the active, hands-on prep time is under an hour. This means you spend nearly 80% of the recipe duration allowing your oven to bake and your refrigerator to set the truffle filling, giving you ample time to prepare your kitchen or review baking cakes for beginners.
Equipment for Baking This Recipe
Having the correct, high-quality tools is the absolute difference between a layer that releases cleanly and a truffle frosting that splits and curdles. If you are currently building your kitchen inventory or looking to upgrade heavily used items, consult our thorough essential cake baking tools guide.
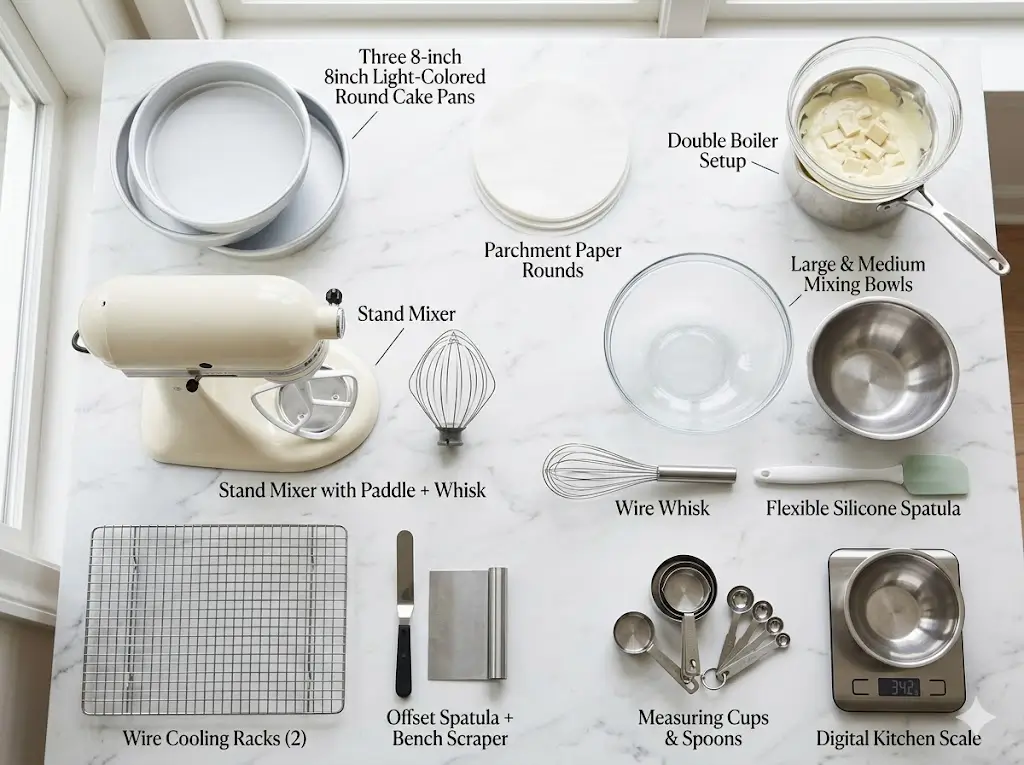
- Three 8-inch light-colored aluminum round cake pans (dark pans will overbake the delicate edges)
- Parchment paper rounds (an absolute necessity for a flawless pan release)
- A double boiler or a heat-proof glass bowl set over a saucepan of simmering water (for melting the white chocolate safely)
- A stand mixer with both a paddle attachment and a whisk attachment
- Large and medium mixing bowls (preferably glass or stainless steel)
- A sturdy wire whisk and a flexible silicone spatula
- Measuring cups and spoons (or a digital kitchen scale for optimal accuracy)
- Sturdy wire cooling racks
- An offset spatula and a bench scraper for achieving smooth frosting application
Step-by-Step Instructions
Follow these detailed, sequential steps closely to ensure your beautiful dessert turns out perfectly moist and bursting with luxurious flavor. For additional guidance on mastering the assembly of multi-tiered desserts, review our cake baking tips and techniques.
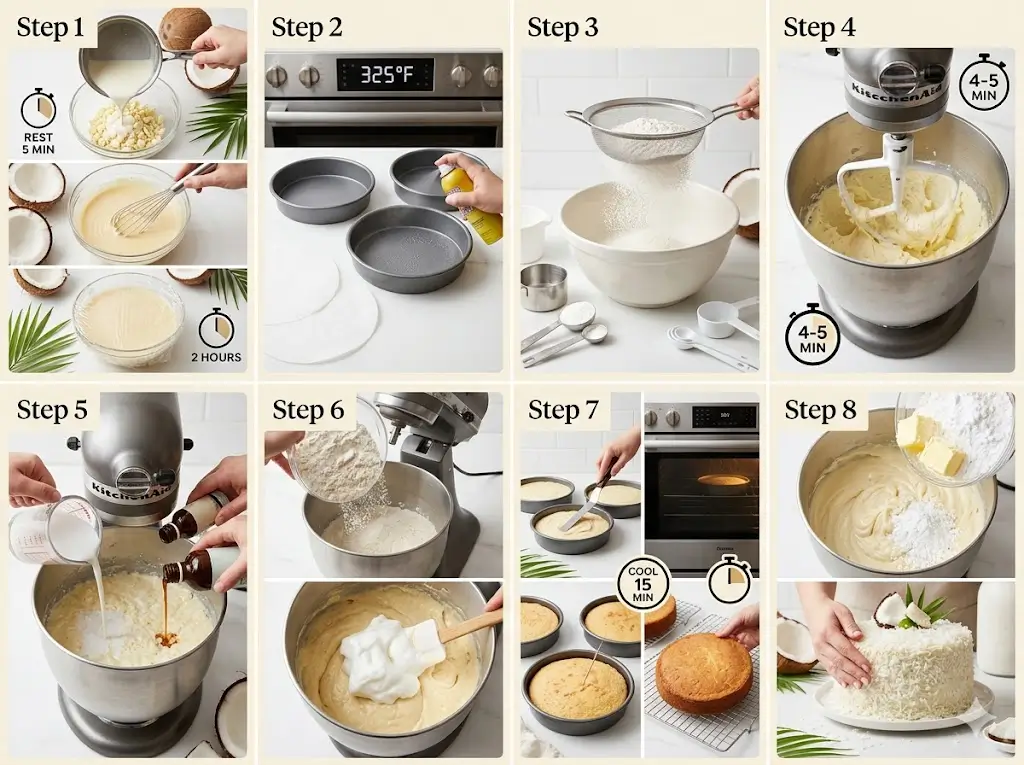
Step 1: Prepare the Truffle Ganache Base
Begin by making the white chocolate truffle base, as it requires extensive time to chill. Place your 12 oz of finely chopped white chocolate into a heat-proof bowl. In a small saucepan, bring the 1 cup of heavy whipping cream just to a gentle simmer. Pour the hot cream immediately over the white chocolate. Let it sit completely undisturbed for 5 minutes. After 5 minutes, gently whisk the mixture starting from the center outward until it is completely smooth and emulsified. Cover the surface directly with plastic wrap and place it in the refrigerator for at least 2 hours to firm up to a pudding-like consistency.
Step 2: Prep the Oven and Pans
Preheat your oven to a gentle 325°F (163°C). A lower temperature ensures the delicate white sponge bakes flat and evenly without browning too quickly. Generously spray three 8-inch round cake pans with non-stick baking spray and line the bottoms with parchment paper rounds.
Step 3: Mix the Dry Ingredients
In a medium-sized mixing bowl, thoroughly sift together the 2 ½ cups of cake flour, 1 tablespoon of baking powder, ½ teaspoon of baking soda, and 1 teaspoon of fine sea salt. Sifting is non-negotiable here; it aerates the flour and removes any lumps, guaranteeing a silky smooth, truffle-like crumb.
Step 4: Cream the Fats and Sugar
In the main bowl of your stand mixer fitted with the paddle attachment, beat the softened ½ cup of butter, the ¼ cup of melted coconut oil, and the 1 ½ cups of granulated sugar on medium-high speed for a full 4 to 5 minutes. The mixture must transform into a pale, extremely airy, and fluffy paste. This is where the foundational structure of your sponge is built.
Step 5: Incorporate the Wet Ingredients
Reduce the mixer speed to low. Gradually pour in the 1 cup of shaken canned coconut milk, the 1 tablespoon of vanilla extract, and the 1 teaspoon of coconut extract. The mixture may look slightly curdled at this stage due to the high fat content, but do not panic; it will smooth out once the dry ingredients are introduced.
Step 6: Alternate Flour and Whip Egg Whites
With the mixer on low, add the sifted dry ingredients in three separate batches, mixing only until the last streaks of flour disappear. Do not overmix. In a separate, impeccably clean glass bowl, use a hand mixer to whip the 5 egg whites until they reach medium-stiff peaks. Gently, using a silicone spatula, fold the whipped egg whites into the main batter in two additions. This folding technique provides the light, ethereal lift required for a true truffle cake.
Step 7: Bake and Cool
Divide the airy batter evenly among your three prepared pans. Smooth the tops with a small offset spatula. Bake for 35 to 40 minutes, or until a wooden toothpick inserted into the center of the layers comes out completely clean. Let the pans cool on wire racks for 15 minutes before inverting the layers directly onto the racks to cool entirely to room temperature.
Step 8: Whip the Truffle Frosting and Assemble
Remove your chilled white chocolate ganache from the refrigerator. Transfer it to your stand mixer fitted with the whisk attachment. Add the 1 cup of softened butter and the 2 cups of powdered sugar. Whip on medium-high speed for 3 to 4 minutes until the mixture transforms into a wildly fluffy, cloud-like frosting. Stack the cooled layers, spreading a generous amount of truffle frosting between each layer. Frost the exterior entirely, then immediately press the 2 cups of sweetened shredded coconut all over the top and sides of the dessert. For visual inspiration on advanced coatings, explore our cake decoration for beginners guide.
Nutritional Information
While this iconic truffle dessert is undoubtedly a luxurious, high-fat indulgence, understanding its nutritional profile helps you balance it within a holistic lifestyle. The inclusion of coconut oils offers a unique metabolic profile. Note: Data represents one slice, assuming the three-layer cake is generously frosted and cut into 16 equal portions.
- Calories: 540 kcal
- Carbohydrates: 52g
- Proteins: 5g
- Fat: 36g
- Saturated Fat: 22g
- Sodium: 280mg
- Fiber: 1.5g
- Sugars: 41g
Data Insight: The predominant fats in this recipe come from the cocoa butter and the coconut oil. Coconut oil is rich in Medium-Chain Triglycerides (MCTs), which the body processes slightly differently than standard long-chain fatty acids, though the calorie density remains high.
Healthier Alternatives for the Recipe
If you want to enjoy a slice of this striking, snowy treat while adhering to specific dietary or caloric parameters, there are several data-backed ingredient modifications that maintain the structural integrity and signature flavor:
- Reduce Saturated Fats: Swap the full-fat canned coconut milk in the sponge for “lite” or reduced-fat canned coconut milk. This cuts the saturated fat content down without compromising the tropical flavor, though the crumb will be slightly less dense.
- Lower the Sugar Index: You can substitute the granulated sugar in the sponge with a 1:1 baking blend of erythritol or monk fruit sweetener. For the frosting, use a sugar-free powdered sweetener. Keep in mind that sugar-free white chocolate can be used, but it melts differently, so approach the ganache step with extreme care.
- Gluten-Free Adaptation: Substitute the cake flour with a high-quality, 1:1 gluten-free baking flour blend that contains xanthan gum. You must add 2 tablespoons of cornstarch to the blend to mimic the softness of traditional cake flour.
Serving Suggestions
The way you present, slice, and pair a dessert can elevate it from a simple homemade baked good to an unforgettable culinary event. To understand how densely textured truffle batters compare to other dessert categories, browse our complete guide to cake types.
- The Ultimate Coffee Pairing: Serve a slightly chilled slice alongside a hot, robust cup of dark roast espresso or an unsweetened Americano. The bitter and aromatic notes of the coffee perfectly cut through the intense, creamy sweetness of the white chocolate ganache.
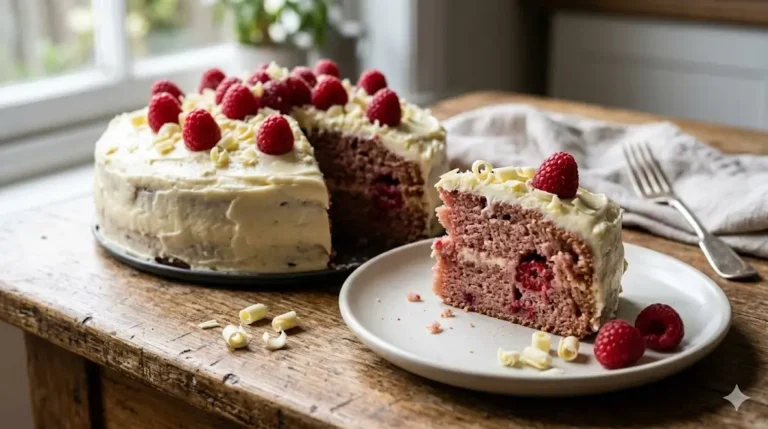
- Fruity Contrast: White chocolate pairs phenomenally with tart berries. Serve each slice with a dollop of fresh raspberry coulis or a side of macerated strawberries to provide a sharp, acidic contrast to the rich truffle layers.
- Elegant Garnishes: For a professional touch, decorate the top border with homemade white chocolate truffles, edible gold leaf, or delicate white chocolate curls. For more elaborate design strategies, dive into our advanced cake decorating guide.
Common Mistakes to Avoid
Even highly experienced pastry chefs occasionally face hurdles when dealing with delicate emulsifications like white chocolate ganache. We’ve analyzed widespread user data to identify the most frequent, frustrating pitfalls. For a deeper, scientific look at troubleshooting all your bakes, visit our guide on common cake problems and how to fix them.
- Seizing the White Chocolate: White chocolate is notoriously finicky. If a single drop of water gets into your melting bowl, or if your cream is boiling rather than simmering, the cocoa butter will separate, resulting in a grainy, seized mess. Heat gently and keep water away!
- Using White Chocolate Chips: Commercial chips are coated in stabilizers to help them retain their shape in the oven. They will not melt into a smooth ganache. You must use high-quality baking bars. Learn more about ingredient behaviors in our cake baking formulas and ratios guide.
- Deflating the Egg Whites: The lift in this sponge relies heavily on the whipped egg whites. If you stir them in aggressively rather than folding them gently, you will knock out all the trapped air, resulting in a dense, rubbery hockey puck.
Storing Tips for the Recipe
Proper, careful storage ensures your slice tastes just as beautifully moist and vibrant on day four as it did when it was freshly frosted.
- Refrigeration is Highly Recommended: Because the frosting is a dairy-rich ganache and the sponge contains abundant moisture, this dessert is prone to melting in warm environments. Store it loosely covered in a cake dome in the refrigerator for up to 5 days.
- Serving Temperature: While it must be stored in the fridge, eating it ice cold will mask the flavors and harden the cocoa butter. Always let a slice sit at room temperature for 30 minutes before consuming for the ultimate melt-in-your-mouth truffle texture.
- Freezing for Later: You can absolutely freeze leftovers! Wrap individual slices tightly in plastic wrap and then place them in an airtight freezer container. Freeze for up to 2 months. Thaw overnight in the refrigerator before bringing to room temperature.
Conclusion
This Coconut White Chocolate Truffle Cake masterfully balances the tropical allure of coconut with the luxurious, melt-in-your-mouth texture of high-quality cocoa butter. By understanding the precise science of ganache emulsification and mastering the gentle folding of egg whites, you guarantee a flawless, visually stunning centerpiece.
Are you ready to bring the sophisticated flair of this snow-white truffle dessert into your own kitchen? Try baking this sensational recipe today, share your beautifully frosted results in the review section, or leave a vibrant comment on our blog below! Don’t forget to subscribe to our weekly newsletter for more delicious updates and expert baking guides.
FAQs
1. Can I use sweetened coconut milk from a carton instead of canned?
No, you should not substitute the canned coconut milk with the thin, carton-based coconut milk meant for drinking. Carton milk has far too much water and too little fat. You need the thick, rich cream found in full-fat canned coconut milk to provide the necessary moisture and structure for the sponge.
2. Why did my white chocolate ganache separate and look greasy when I whipped it?
This happens if the ganache was either too warm or too cold when you added the butter, or if you overwrote it. If it separates, you can sometimes save it by placing the bowl over a pot of gently simmering water for just a few seconds to warm the edges, then whisking vigorously to re-emulsify the fats.
3. Can I toast the shredded coconut before pressing it onto the outside?
Absolutely! Toasting the shredded coconut adds a phenomenal, slightly nutty crunch and a beautiful golden color to the exterior. Simply spread the coconut on a baking sheet and bake at 325°F for 5-8 minutes, stirring frequently, until golden brown. Let it cool completely before pressing it onto the frosting.
4. Can I make this exact recipe in a 9×13 inch rectangular baking dish?
Yes, this batter converts well into a sheet cake. Pour the batter into a greased and parchment-lined 9×13 inch pan. The baking time will likely increase to 40-50 minutes. You will not need to slice it; simply spread the whipped truffle frosting directly over the cooled top and sprinkle with coconut.
Coconut White Chocolate Truffle Cake 7 Best Secrets
Ingredients
Equipment
Method
Step 1: Prepare the Truffle Ganache Base
Begin by making the white chocolate truffle base, as it requires extensive time to chill. Place your 12 oz of finely chopped white chocolate into a heat-proof bowl. In a small saucepan, bring the 1 cup of heavy whipping cream just to a gentle simmer. Pour the hot cream immediately over the white chocolate. Let it sit completely undisturbed for 5 minutes. After 5 minutes, gently whisk the mixture starting from the center outward until it is completely smooth and emulsified. Cover the surface directly with plastic wrap and place it in the refrigerator for at least 2 hours to firm up to a pudding-like consistency.Step 2: Prep the Oven and Pans
Preheat your oven to a gentle 325°F (163°C). A lower temperature ensures the delicate white sponge bakes flat and evenly without browning too quickly. Generously spray three 8-inch round cake pans with non-stick baking spray and line the bottoms with parchment paper rounds.Step 3: Mix the Dry Ingredients
In a medium-sized mixing bowl, thoroughly sift together the 2 ½ cups of cake flour, 1 tablespoon of baking powder, ½ teaspoon of baking soda, and 1 teaspoon of fine sea salt. Sifting is non-negotiable here; it aerates the flour and removes any lumps, guaranteeing a silky smooth, truffle-like crumb.Step 4: Cream the Fats and Sugar
In the main bowl of your stand mixer fitted with the paddle attachment, beat the softened ½ cup of butter, the ¼ cup of melted coconut oil, and the 1 ½ cups of granulated sugar on medium-high speed for a full 4 to 5 minutes. The mixture must transform into a pale, extremely airy, and fluffy paste. This is where the foundational structure of your sponge is built.Step 5: Incorporate the Wet Ingredients
Reduce the mixer speed to low. Gradually pour in the 1 cup of shaken canned coconut milk, the 1 tablespoon of vanilla extract, and the 1 teaspoon of coconut extract. The mixture may look slightly curdled at this stage due to the high fat content, but do not panic; it will smooth out once the dry ingredients are introduced.Step 6: Alternate Flour and Whip Egg Whites
With the mixer on low, add the sifted dry ingredients in three separate batches, mixing only until the last streaks of flour disappear. Do not overmix. In a separate, impeccably clean glass bowl, use a hand mixer to whip the 5 egg whites until they reach medium-stiff peaks. Gently, using a silicone spatula, fold the whipped egg whites into the main batter in two additions. This folding technique provides the light, ethereal lift required for a true truffle cake.Step 7: Bake and Cool
Divide the airy batter evenly among your three prepared pans. Smooth the tops with a small offset spatula. Bake for 35 to 40 minutes, or until a wooden toothpick inserted into the center of the layers comes out completely clean. Let the pans cool on wire racks for 15 minutes before inverting the layers directly onto the racks to cool entirely to room temperature.Step 8: Whip the Truffle Frosting and Assemble
Remove your chilled white chocolate ganache from the refrigerator. Transfer it to your stand mixer fitted with the whisk attachment. Add the 1 cup of softened butter and the 2 cups of powdered sugar. Whip on medium-high speed for 3 to 4 minutes until the mixture transforms into a wildly fluffy, cloud-like frosting. Stack the cooled layers, spreading a generous amount of truffle frosting between each layer. Frost the exterior entirely, then immediately press the 2 cups of sweetened shredded coconut all over the top and sides of the dessert. For visual inspiration on advanced coatings, explore our cake decoration for beginners guide.