Ingredients
Equipment
Method
Step 1: Whisk and Aerate the Dry Ingredients
Preheat your oven to 350°F (175°C). Generously grease your two 8-inch cake pans with butter and line the bottoms with parchment paper. In a medium mixing bowl, place your fine-mesh sieve over the top and sift together the all-purpose flour, baking powder, and fine sea salt. Whisking these together ensures a perfectly even distribution of the leavening agents and prevents any dense, unbaked pockets in the final sponge. For those looking to master the exact science behind these precise ingredient alterations, reviewing cake baking formulas and ratios can drastically improve your foundational skills.Step 2: Whip the Genoise Batter to the Ribbon Stage
In the bowl of your stand mixer, combine the room-temperature eggs and granulated sugar. Beat on high speed for a full 8 to 10 minutes. Do not rush this step! The mixture should triple in volume, turn very pale yellow, and fall from the whisk in a thick, luxurious "ribbon" that sits on top of the batter for a few seconds before sinking. Once whipped, add the vanilla extract. If you are new to creating aerated egg foams, you might find our comprehensive resource on baking cakes for beginners highly beneficial for mastering these foundational mixing techniques.Step 3: Fold in the Dry Ingredients and Butter
Remove the bowl from the mixer. Sift the dry flour mixture over the whipped eggs in three separate batches. Using a large, wide silicone spatula, gently fold the flour into the eggs using a sweeping, bottom-to-top motion. Once the flour is mostly incorporated, take one cup of the batter and mix it into your melted, cooled butter in a separate small bowl to lighten the fat. Then, gently fold this butter mixture back into the main batter. Overmixing will deflate the air you just whipped into the eggs. Mastering this delicate folding process is one of the many cake baking tips and techniques that permanently separate amateur home bakers from seasoned pastry professionals.Step 4: Bake the Absorbent Sponge
Divide the light, airy batter evenly among the two prepared cake pans. Use an offset spatula to gently smooth the tops so they bake evenly. Bake on the middle rack of your oven for 25 to 30 minutes. The cakes are done when they are beautifully golden brown, spring back lightly when touched in the center, and a toothpick comes out completely clean. Remove the cakes from the oven and place them on a wire cooling rack to cool entirely to room temperature.Step 5: Prepare the Espresso Soak and Zabaglione Base
While the cakes cool, mix your hot espresso, 2 tablespoons of sugar, and coffee liqueur in a small bowl until the sugar dissolves. Let it cool. Next, create the traditional zabaglione base for the frosting: place the egg yolks and 3/4 cup sugar in a heat-proof bowl over a saucepan of simmering water (double boiler). Whisk constantly for 5 to 7 minutes until the sugar is dissolved and the mixture is pale, thick, and reaches 160°F (71°C) to pasteurize the yolks. Remove from heat and let it cool to room temperature.Step 6: Create the Mascarpone Cream and Assemble
Once the egg yolk mixture is cool, gently fold in the chilled mascarpone cheese until perfectly smooth. In a separate cold bowl, whip the heavy cream and vanilla until stiff peaks form. Gently fold the whipped cream into the mascarpone mixture to create a cloud-like frosting.To assemble, level your cooled cakes and cut each one in half horizontally to create four thin layers. Place the first layer on a platter. Using your pastry brush, generously dab the espresso soak all over the sponge until saturated. Spread a thick layer of the mascarpone cream over the soaked cake. Repeat this process with the remaining layers. For those just starting out with smooth icing techniques, checking a cake decoration for beginners guide can provide great confidence.Step 7: Frost, Chill, and Garnish
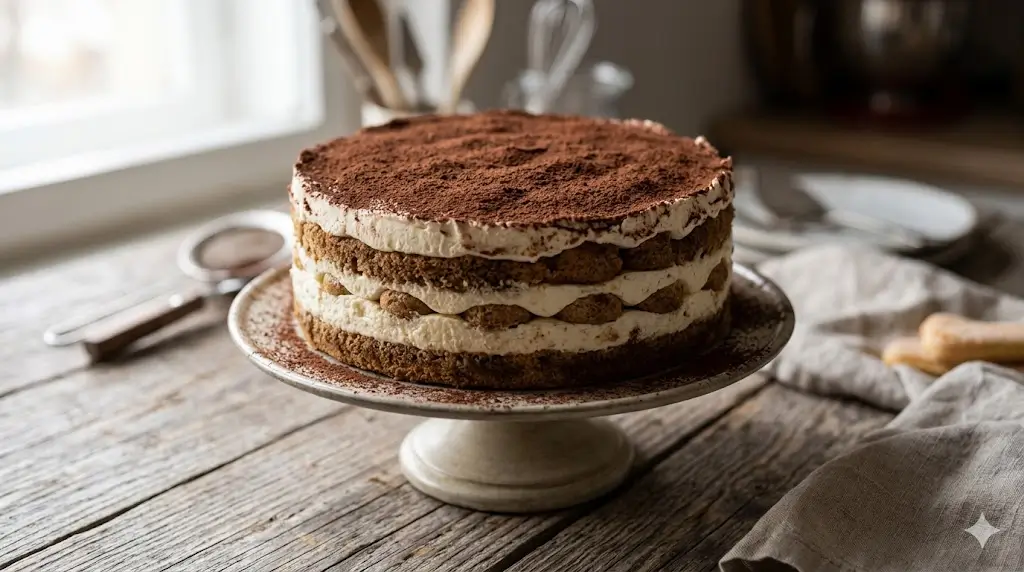
Frost the entire outside of the cake with the remaining mascarpone cream. Place the fully assembled cake in the refrigerator for at least 4 hours to allow the cream to firm up and the coffee flavors to meld perfectly into the crumb. Right before serving, use a fine-mesh sieve to generously dust the top of the cake with a thick, beautiful layer of dark cocoa powder. If you want to elevate your presentation even further with elaborate chocolate piping borders or elegant rosettes, explore our advanced cake decorating guide to learn professional skills.