
Why is it that two people can use the exact same ingredients yet end up with two completely different results—one a light, airy masterpiece and the other a dense, rubbery disappointment? Data from culinary science labs suggests that up to 80% of the difference in cake quality is not found in the ingredients themselves, but in the application of specific Cake Baking Tips & Techniques. Baking is a series of complex chemical reactions that require more than just following a list; it requires an understanding of thermodynamics, molecular aeration, and structural engineering.
If you have ever wondered why your sponge sank or why the crumb was too coarse, you are in the right place. This guide is your masterclass in Cake Baking Tips & Techniques, designed to move you beyond basic recipes into the realm of professional-grade execution. We will explore the “how” and the “why” behind every movement you make in the kitchen, ensuring that your future bakes are consistently perfect.
The Molecular Pantry: Ingredients for Technical Excellence
In the world of Cake Baking Tips & Techniques, your ingredients are your chemical reagents. To achieve a professional crumb, you must treat each component with the respect its chemical properties deserve. We will use a “Professional White Velvet Sponge” as our technical baseline—a recipe that demands precision and highlights the importance of technique.
The Technical Component Breakdown
- Silky Cake Flour (300g): Unlike all-purpose flour, cake flour is chlorinated. This process doesn’t just lower the protein (to about 7%); it actually changes the starch granules, allowing them to absorb more liquid and fat. This is one of the most vital Cake Baking Tips & Techniques for achieving a “velvet” texture.
- Ultrafine Caster Sugar (350g): The smaller crystals in caster sugar dissolve faster and create smaller, more numerous air pockets during creaming, leading to a finer internal structure.
- High-Fat Cultured Butter (225g): We recommend a butter with at least 84% butterfat. Cultured butter adds a subtle acidity that helps tenderize the gluten network.
- Egg White Meringue (5 Large Whites): In this technique-heavy recipe, we separate the eggs. The whites provide the “lift” through mechanical aeration, while the yolks are excluded to keep the crumb snow-white and light.
- Whole Milk & Sour Cream Blend (180ml milk / 60ml sour cream): The sour cream adds thickness and acidity, which reacts with the leaveners to create a tighter, more uniform crumb.
- Double-Acting Baking Powder (2 tsp): This reacts once when wet and again when heated, providing a “safety net” for your lift.
- Premium Almond & Vanilla Extract (1 tsp each): Combining these creates a complex “bakery” aroma that simple vanilla cannot achieve alone.
Timing: The Thermodynamics of the Bake
Professional baking is governed by the clock. A common error in applying Cake Baking Tips & Techniques is rushing the cooling or mixing phases. This recipe requires approximately 90 minutes, which is 20% more time than a standard “box-style” mix, but the difference in structural integrity is incomparable.
- Thermal Equilibrium (Ingredient Temping): 30 minutes (bringing butter/dairy to 65°F).
- Mechanical Aeration (Mixing): 20 minutes.
- Oven Dwell Time: 30–35 minutes.
- Initial Setting (Cooling): 10 minutes.
- Total Time Investment: 90 minutes.
Step-by-Step Instructions: Mastering Technical Execution
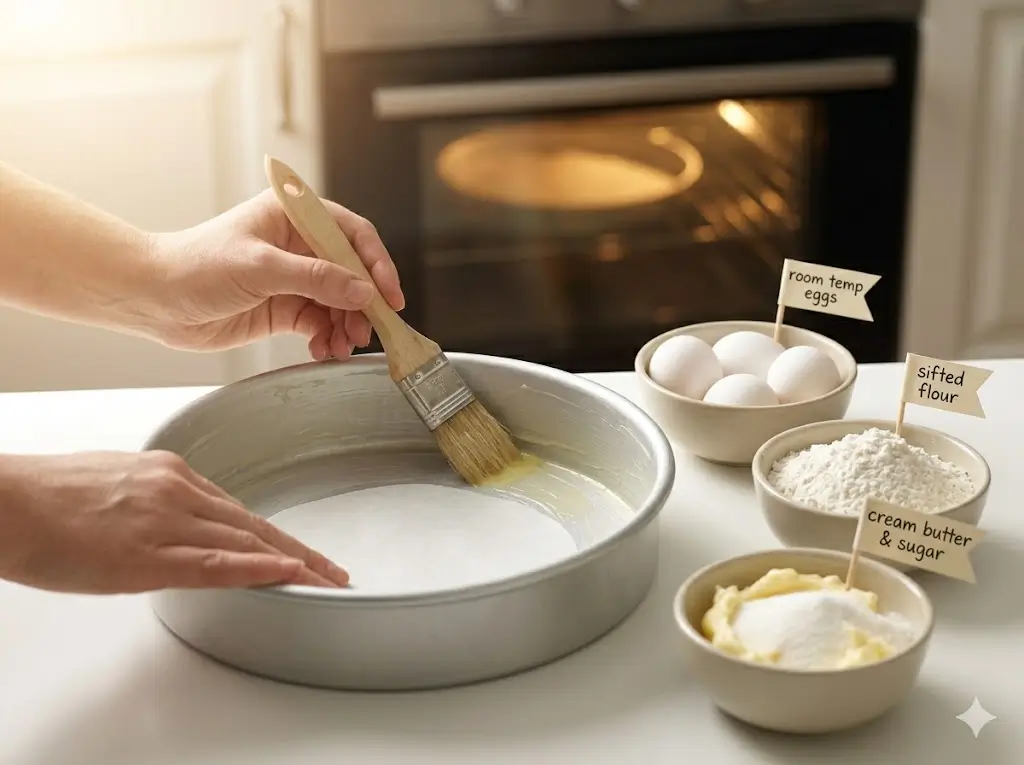
1. Thermal Equilibrium and Environment Prep
Your first of many Cake Baking Tips & Techniques starts before the oven is even on. Ensure all liquid ingredients are at 65°F (18°C). If your milk is too cold, it will “shock” the creamed butter, causing it to seize and ruining the emulsion. Preheat your oven to 325°F (160°C). A lower temperature than the standard 350°F allows for a slower, more even rise, preventing a “volcano” dome.
2. The Reverse Creaming Method
In this advanced technique, we combine the flour, sugar, and leaveners with the softened butter first. This coats the flour particles in fat before any liquid is added, which is a foolproof way to inhibit gluten formation. It results in a cake that is nearly impossible to make “tough.” Mix until the texture resembles fine sand.
3. Creating the Liquid Emulsion
Whisk your milk, sour cream, and extracts together. Add half of this mixture to your flour-fat “sand.” Beat on medium speed for 2 full minutes. This structural phase develops the tiny amount of gluten needed to hold the cake’s weight without making it chewy.
4. The Meringue Component
In a separate, grease-free bowl, beat your egg whites to soft peaks. Gradually add 2 tablespoons of sugar to stabilize them. This mechanical aeration is one of the most critical Cake Baking Tips & Techniques. You are creating a physical foam that will expand in the oven’s heat.
5. The “J-Fold” Integration
Fold the meringue into the batter using a “J” motion—cut down the middle, scoop around the bottom, and turn over. Do this gently. If you see the batter losing volume, you are being too aggressive. You want to see “marbling” before the final few folds integrate everything.
6. Atmospheric De-Gassing
Once in the pans, drop them from a height of three inches onto the counter twice. This forces large “rogue” air bubbles to the surface, ensuring your cake doesn’t have unsightly holes when sliced.
7. The Convection Finish
Place the pans on the middle rack, ensuring they aren’t touching each other or the walls. Rotate them halfway through to compensate for any “cold spots” in your oven. The cake is done when an instant-read thermometer reaches 205°F (96°C) in the center.

Nutritional Information: The Data of Indulgence
Using professional Cake Baking Tips & Techniques often involves higher fat and protein ratios to achieve superior texture. Here is the nutritional profile per slice (1/12th of the cake).
| Nutrient | Amount per Serving | Data Insights |
|---|---|---|
| Calories | 385 kcal | High energy density for satiety |
| Total Fat | 22g | Primarily from high-quality butter |
| Saturated Fat | 14g | Essential for structural stability |
| Carbohydrates | 44g | Optimized for “tender” mouthfeel |
| Protein | 6g | Boosted by egg white meringue |
| Calcium | 8% DV | Contributed by dairy components |
Healthier Alternatives for Technical Baking
Can you apply Cake Baking Tips & Techniques to healthier recipes? Absolutely. The science remains the same, even if the “fuel” changes:
- The Aquafaba Swap: For a vegan “velvet” cake, replace egg whites with whipped chickpea liquid (aquafaba). It mimics the protein structure of egg whites remarkably well.
- The Fat Substitution: You can replace 50% of the butter with avocado oil. Because oil is liquid at room temperature, the cake will actually stay soft for up to 48 hours longer than a butter-based cake.
- Flour Alternatives: Using a mix of oat flour and cornstarch can mimic the low-protein environment of cake flour for those seeking a gluten-aware option.
Serving Suggestions: Aesthetic and Palate Balance
A cake baked with advanced Cake Baking Tips & Techniques deserves a presentation that highlights its superior crumb.
- The “Naked” Look: Because this technique produces such a beautiful, uniform edge, don’t hide it under heavy frosting. Use a thin “scrape” of buttercream to show off the internal layers.
- Temperature Pairing: Serve this specific “White Velvet” slightly chilled. The high butter content gives it a “fudge-like” quality when cold that melts instantly on the tongue.
- Acidic Contrast: Pair with a sharp raspberry coulis or lemon curd to cut through the richness of the cultured butter.
Common Mistakes to Avoid: The Technical Pitfalls
Even with the best Cake Baking Tips & Techniques, errors can occur. Here is how to troubleshoot like a scientist:
- The “Rubbery” Bottom: This is usually caused by “over-folding” the egg whites, which deflates the batter and allows the heavier flour particles to sink to the bottom.
- The Sticky Top: This happens if you live in a high-humidity environment or if you under-baked the cake by just 2-3 minutes. The sugars migrate to the surface and don’t fully set.
- Coarse, “Open” Crumb: This is a sign that your creaming speed was too high. Medium speed creates small, uniform bubbles; high speed creates large, unstable bubbles that pop and merge.
- The “Sinking” Sponge: Often caused by a sudden change in pressure (opening the oven door) or an imbalance of leavening agents (too much baking powder creates a “balloon” that eventually bursts).
Storing Tips for Maintaining Freshness
The shelf life of your cake is a direct reflection of your Cake Baking Tips & Techniques.
- The “Crumb Shield”: If you have sliced the cake, press a piece of plastic wrap or parchment paper directly against the exposed “wound.” This prevents the air from pulling moisture out of the sponge.
- Ambient Storage: A high-fat cake like this stays fresh at room temperature for 48 hours.
- The “Flash Freeze”: For long-term storage, freeze the individual slices on a tray for 30 minutes until hard, then wrap in foil. This prevents the delicate “velvet” crumb from being crushed by the wrapping.
Conclusion
Mastering Cake Baking Tips & Techniques transforms you from a recipe-follower into a culinary engineer. By understanding the reverse creaming method, meringue stabilization, and thermal equilibrium, you ensure every bake is a success. We invite you to try this “White Velvet Formula” and share your results! Leave a comment below or subscribe to CakeFormula.com for more professional updates.
FAQs
Q: Why do professional bakers use grams instead of cups? A: A cup of flour can weigh anywhere from 120g to 160g depending on how it’s packed. Grams provide 100% accuracy, which is the cornerstone of all Cake Baking Tips & Techniques.
A: A cup of flour can weigh anywhere from 120g to 160g depending on how it’s packed. Grams provide 100% accuracy, which is the cornerstone of all Cake Baking Tips & Techniques.
Q: Can I use a hand mixer for the meringue?
A: Yes, but it will take longer. Ensure your beaters are completely free of any fat or oil, or the whites will never reach stiff peaks.
Q: What is the “Reverse Creaming” benefit?
A: It creates a sturdier, finer crumb that is less likely to crumble when sliced. It’s the secret behind those perfectly clean layers in wedding cakes.
Q: My cake tastes like “flour.” What did I do wrong?
A: This usually means the flour wasn’t properly “cooked” in the center. Check your oven temperature with a thermometer; it might be running too cold.
Q: Is “Bleached” flour necessary?
A: For white cakes, yes. The bleaching process alters the starches in a way that allows them to hold onto more fat and sugar, which is essential for that specific “velvet” texture.